...
Table of contents:
| Table of Contents |
|---|
Installation Steps
Step 1: Registering a Route53 Domain / Getting HTTPS Certificate
Route53 has a unique integration with Elastic Load Balancer that makes routing requests to our cluster a lot simpler. We recommend a Route53 even if you already have a domain you plan to use.
Register a Route53 Domain
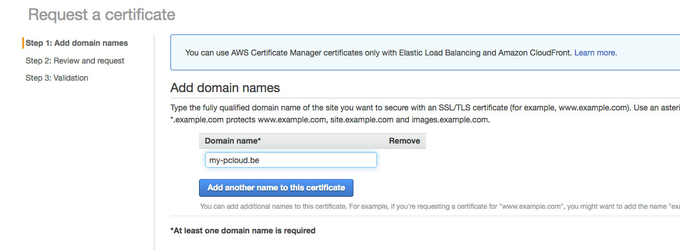
For this guide we'll be using the domain name my-pcloud.be
Request Certificate
Receive Certificate Validation Email
In order for the Amazon issued certificate to work, we need to click on the validation link that Amazon sends to the following addresses:
...
The easiest way to receive this email on a Route 53 domain is to temporarily setup AWS Workmail.
Setting up AWS Workmail

Proving Ownership of Domain
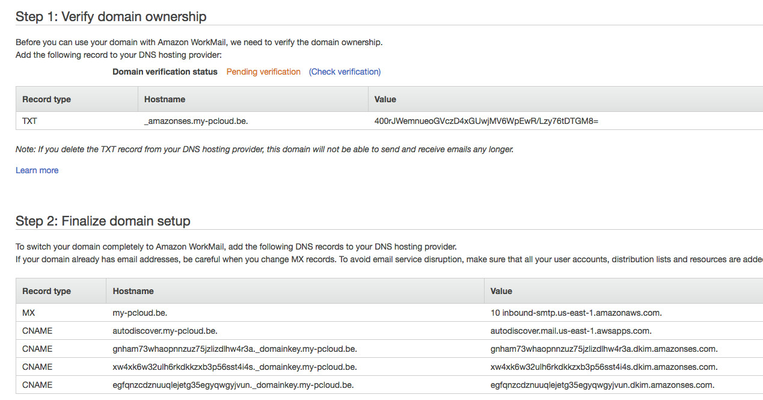
Configure your Route53 records to match the values desired by the AWS Workmail verification screen. Note that 'Hostname' field already contains your domain name, but the interface for Route53 already suffixes your domain for you. Ensure you only copy+paste up to your domain. For example:
...
If all your Record sets were configured correctly, then you should see this:
![]()
Create the hostmaster user
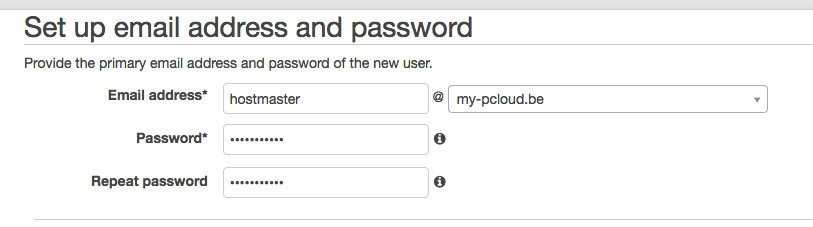
Inside of AWS Workmail, add a user named hostmaster (this is the email that receives the validation email from the Certificate Manager)
...
Open the email and approve the Certificate.
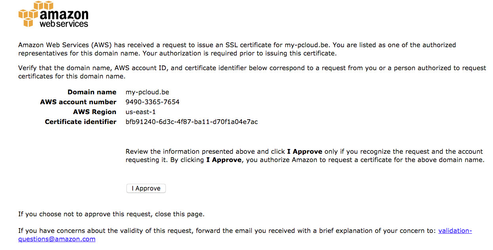
Now we have a working Domain and Certificate! Feel free to delete the AWS Workmail account and organization.
...
Step 2: Create VPC and two subnets
We're going to create a VPC with two subnets, since we'll be using a minimum of two availability zones. We will be using us-east-1d and us-east-1b.
...
Final result should be two subnets in two different availability zones.

...
Step 3: Create Security Groups
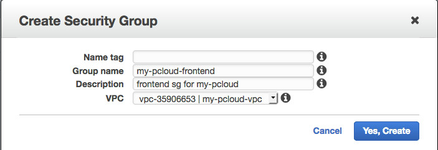
Frontend security group

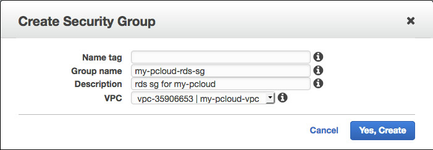
RDS security group

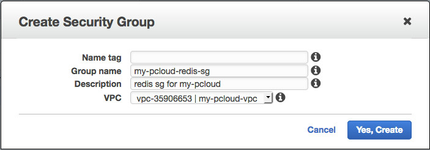
Redis security group

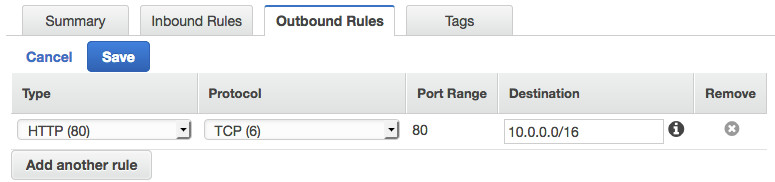
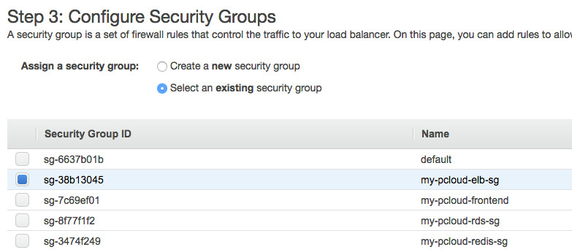
ELB security group


...
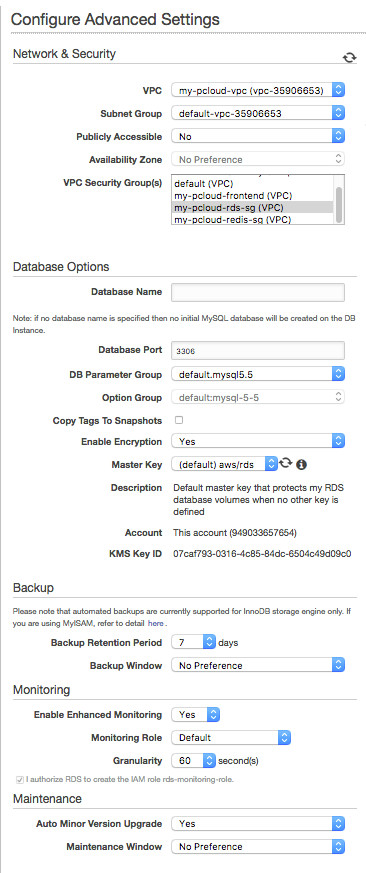
Step 4: Create MySQL RDS Database
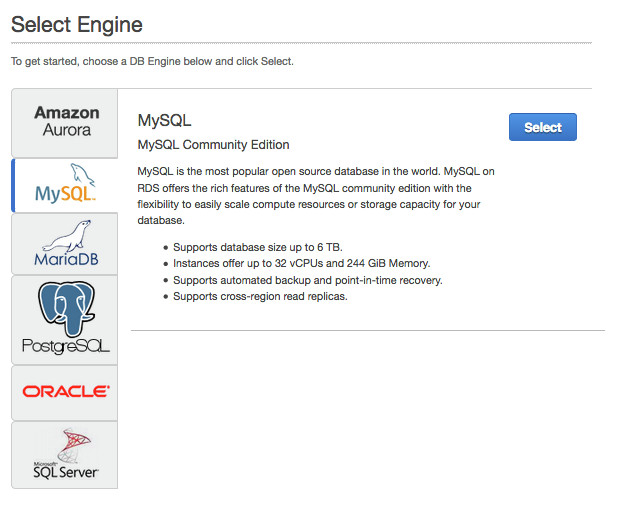
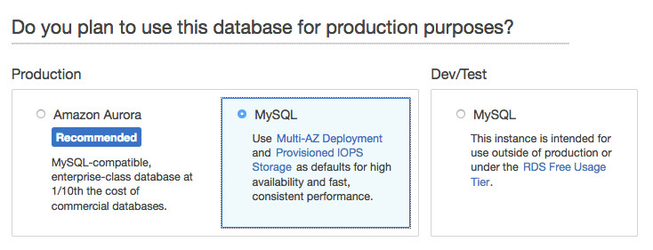
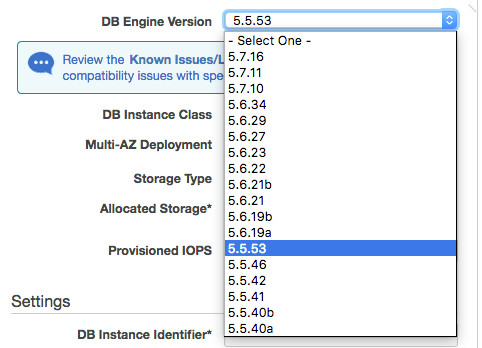
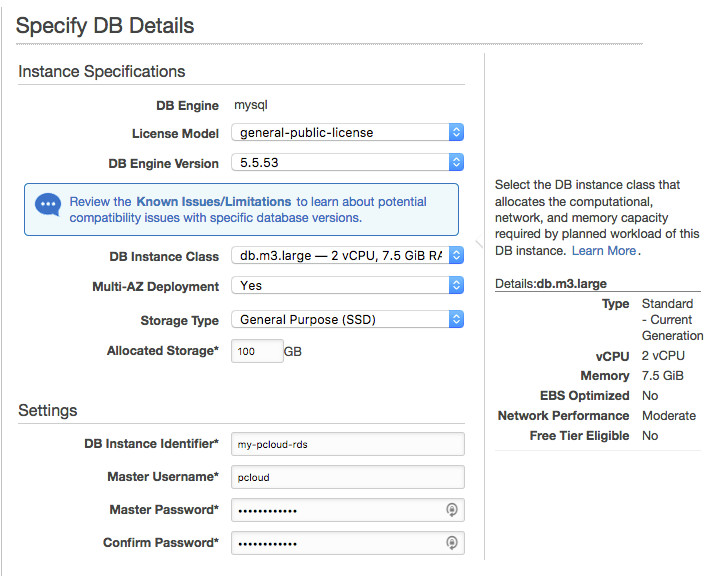
Note: Leave the database name blank, one will be created for you.
...
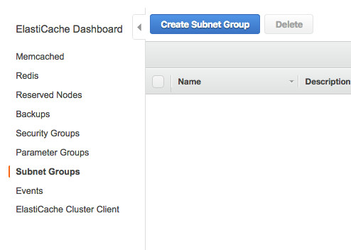
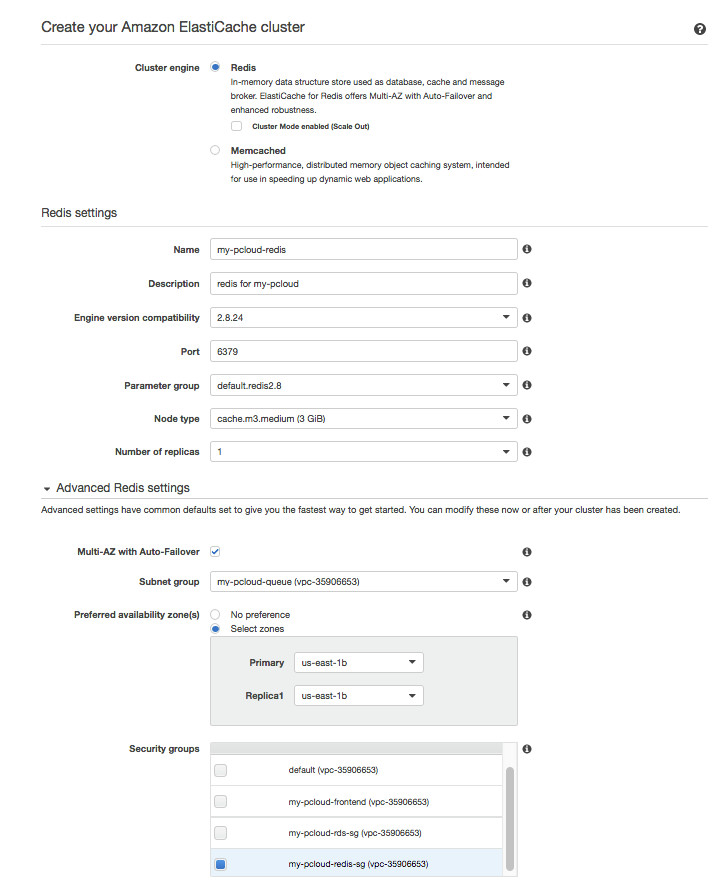
Step 5: Create Elasticache Instance
Create a subnet group
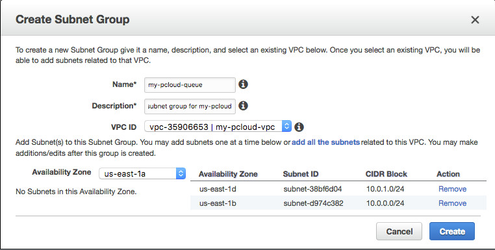
Make sure you click 'Add all the subnets' link to fill out the subnet/zone mapping:
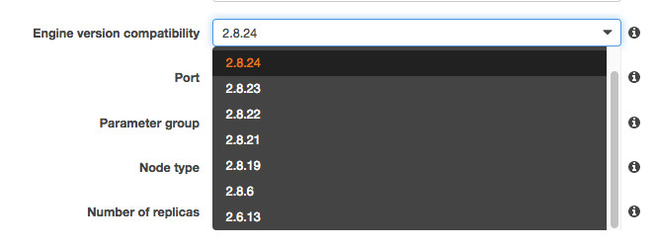
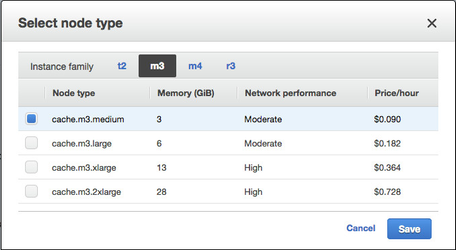
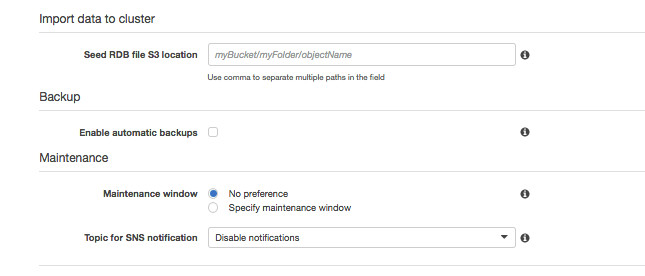
Create Redis instance
...
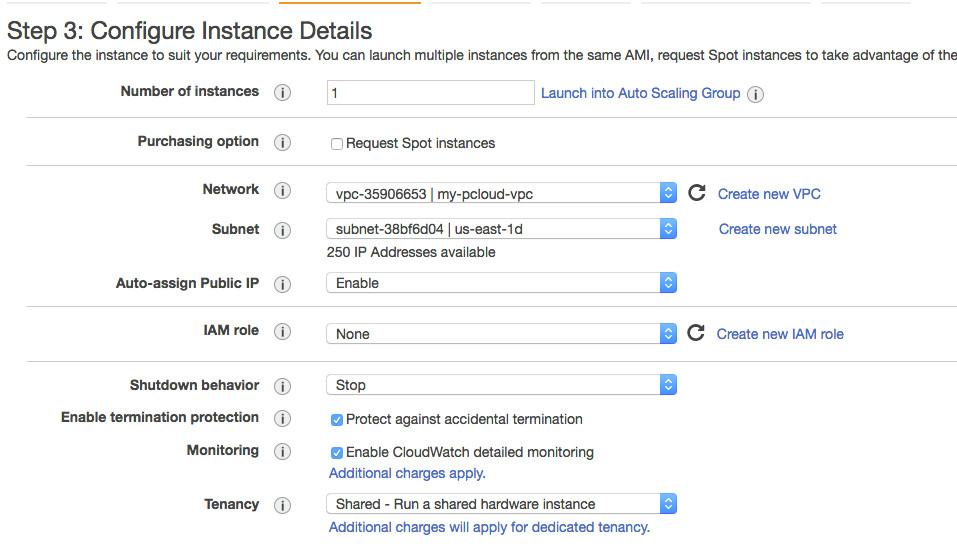
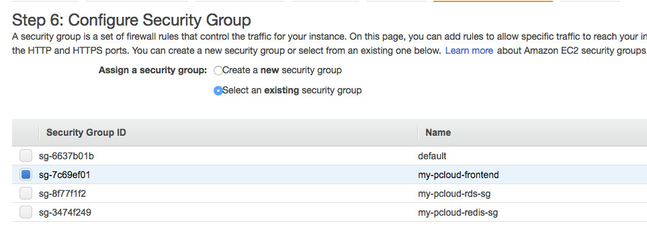
Step 6: Launch EC2 Instance


...
Step 7: Install packagecloud:enterprise
Follow the guide for Single Node Setup paying special attention to the External Database, External Redis, and Session Secret options.
...
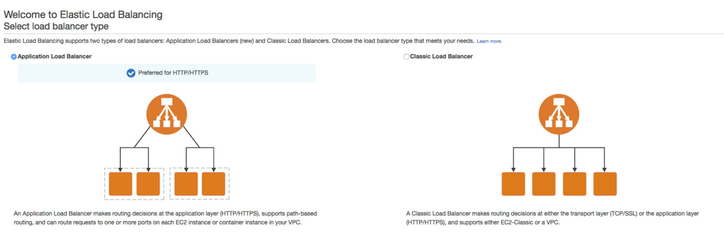
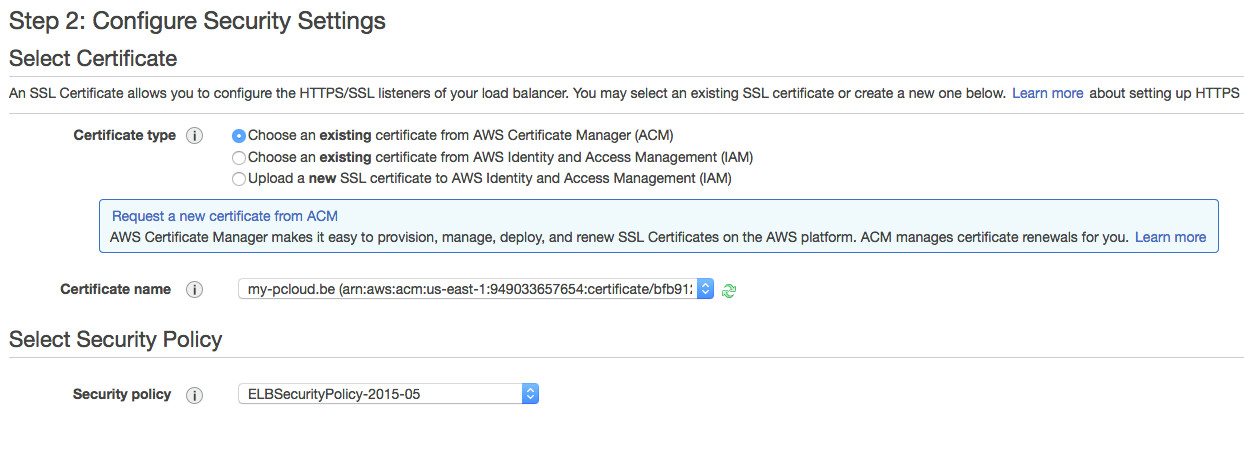
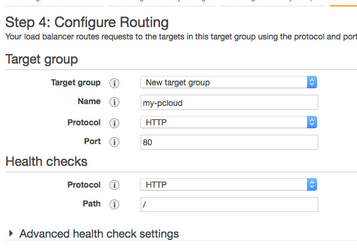
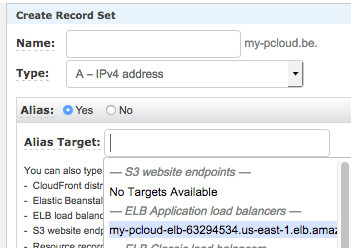
Step 8: Configure Elastic Load Balancer
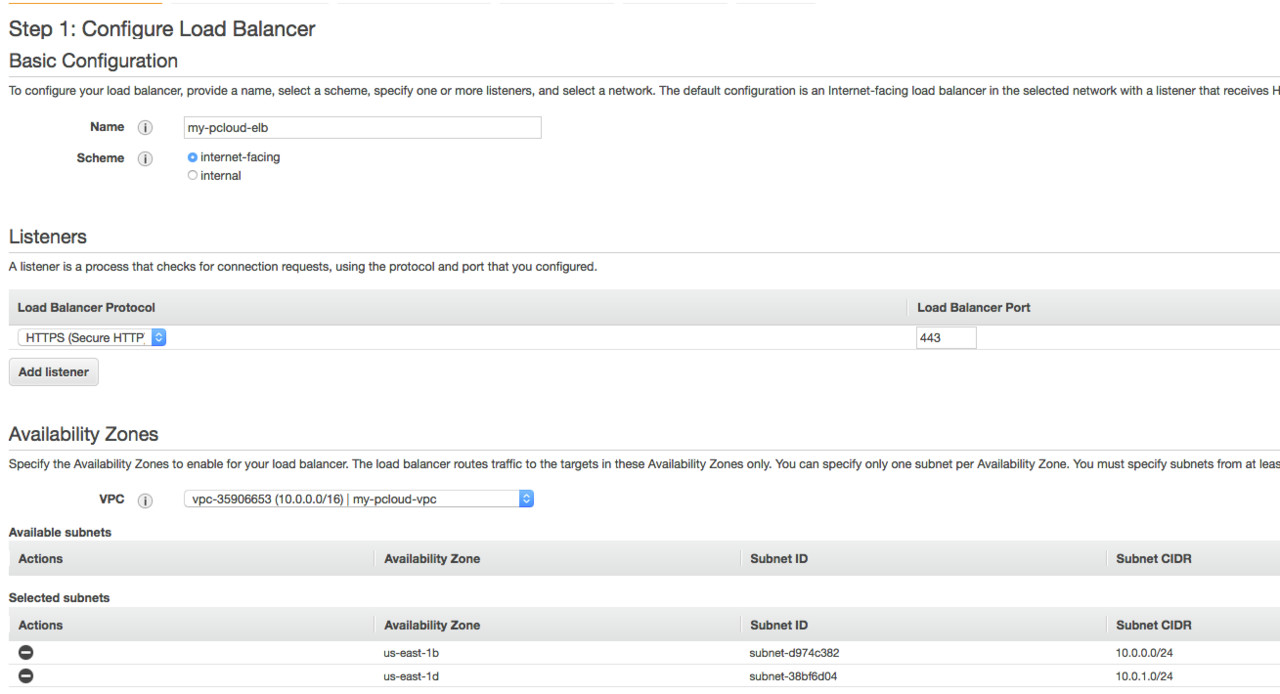
Create a Resource Alias to the Elastic Load Balancer
...
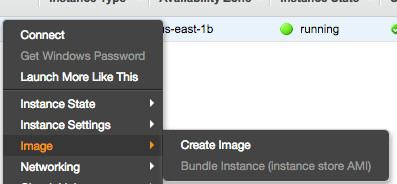
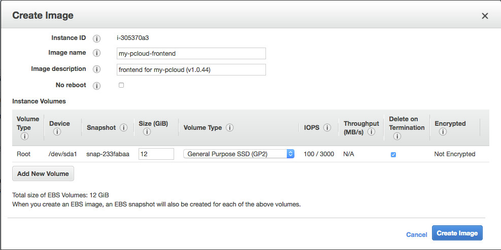
Step 9: Create Autoscaling Group
Create Image from Running EC2 instance
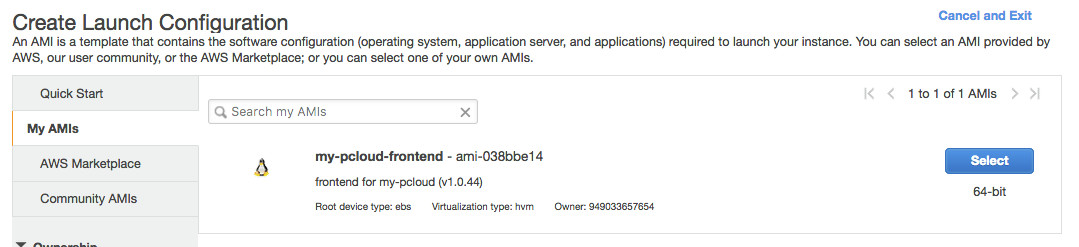
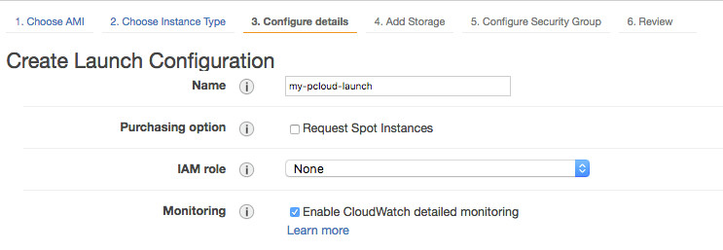
Create Launch Configuration
Configure the Security Group

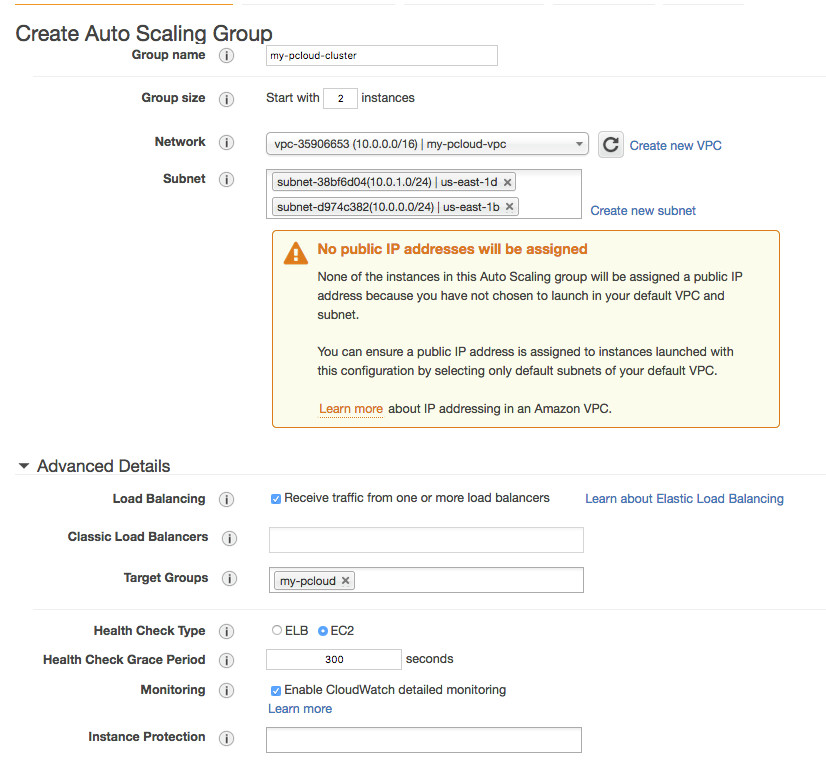
Create Auto Scaling Group

...
Troubleshooting
If the site is not working, make sure the instances registered for that load balancer are healthy (this may take a few minutes). Amazon will only forward requests to healthy instances.

Related Pages:
| Filter by label (Content by label) | ||||||
|---|---|---|---|---|---|---|
|